Synergistic Research UEF Acoustic Panels
Synergistic Research UEF Acoustic Panels
Synergistic Research UEF Acoustic Panels
Realistic 3-dimensional soundstage and music that just hangs in the air, an experience that no other conventional acoustic room treatment can attain. Developed for recording studio applications, the easy to install UEF Acoustic Panels are currently being used by Grammy Award-winning recording and mastering engineers. UEF Acoustic Panels do not rely on traditional dampening, therefore they do not compress your system’s ability to create a holographic sound field. Experience music with breathtaking clarity and realism not possible from any other known acoustic treatment or DSP Room Correction. UEF Acoustic Panels work by themselves or in tandem with traditional room treatments or with Synergistic Research’s and Atmosphere Room Correction devices.
Dimensions - 17″ x 7 3/4″
UEF Acoustic Panel Placement Guide
4 Panels
Up to 20 DOTS
One panel is to be placed centered on the front wall approximately 4-5 feet from the floor and One panel centered on the back wall approximately 5-6 feet from the floor. Two panels placed on either side of the front panel, 3.5-4.5 feet from the floor and 1 foot from the wall.
Dots are placed at floor level on the front and back wall. One dot on the ceiling centered, and two dots on the right and left walls, 5 feet from the ground.
Dots are placed on both sides of the front panels, 6 inches from the wall. One dot is placed above the top front panel between it and the ceiling and two more dots on both sides of the back panel.
Dots are placed 5 feet from the ground on the right and left walls halfway between the existing dots and the back wall. Two of the dots are placed at the same level and the top front dot, 6 inches from the wall. The last dots are placed above the back panel, halfway between the panel and the ceiling.
The last set of dots are placed above the right and left center dot, halfway between the dot and the ceiling. Two more dots are placed 5 feet from the ground on the right and left and halfway between the center dot and the front wall. The last dot is placed on the ceiling, between the current dot and the front wall.
8 Panels
Up to 20 DOTS
One panel is to be placed centered on the front wall approximately 4-5 feet from the floor and One panel centered on the back wall approximately 5-6 feet from the floor. Two panels placed on either side of the front panel, 3.5-4.5 feet from the floor and 1 foot from the wall. Two additional panels are added above the right and left front wall panels, replacing the existing dots. Another two panels are added to the right and left walls, replacing the existing dots.
Dots are placed at floor level on the front and back wall. One dot is placed center on the ceiling. Two dots are placed on both sides of the front two panels, 6 inches from the wall.
Dots are placed above both of the front panels, 1.5 feet from the wall. One dot is placed above the top front panel between it and the ceiling and two more dots on the right and left walls between the new panels and the back wall.
Dots are placed between the panels and the ceiling on the right and left walls. Two of the dots are placed to the outside of the front two panels, 6 inches from the wall. The last dot is placed between the current center ceiling dot and the front wall.
The last set of dots are placed midway between the left and right panels and the front wall. Two more dots are placed 1.5 feet from the wall on either side of the back panel. The last dot is placed above the back panel, halfway between the panel and the ceiling.

12 Panels
Up to 20 DOTS
One panel is to be placed centered on the front wall approximately 4-5 feet from the floor and One panel centered on the back wall approximately 5-6 feet from the floor. Two panels placed on either side of the front panel, 3.5-4.5 feet from the floor and 1 foot from the wall. Two additional panels are added above the right and left front wall panels, replacing the existing dots. Another two panels are added to the right and left walls, replacing the existing dots. Two new panels are placed on both sides of the back panel, a foot from the wall. Then two more panels are placed on the right and left side between the back wall and the center panels.
Dots are placed at floor level on the front and back wall. One dot on the ceiling centered, and two dots on the right and left walls, 5 feet from the ground.
Dots are placed above both of the front panels, 1.5 feet from the wall. One dot is placed above the top front panel between it and the ceiling and two more dots are placed on the right and left wall above each panel between the panel and the ceiling.
Dots are placed 5 feet from the ground on the right and left walls halfway between the existing dots and the back wall. Two of the dots are placed at the same level and the top front dot, 6 inches from the wall. The last dots are placed above the back panel, halfway between the panel and the ceiling.
Two more dots are placed 5 feet from the ground on the right and left and halfway between the center dot and the front wall. The last dots are placed above all three back panels between them and the ceiling.

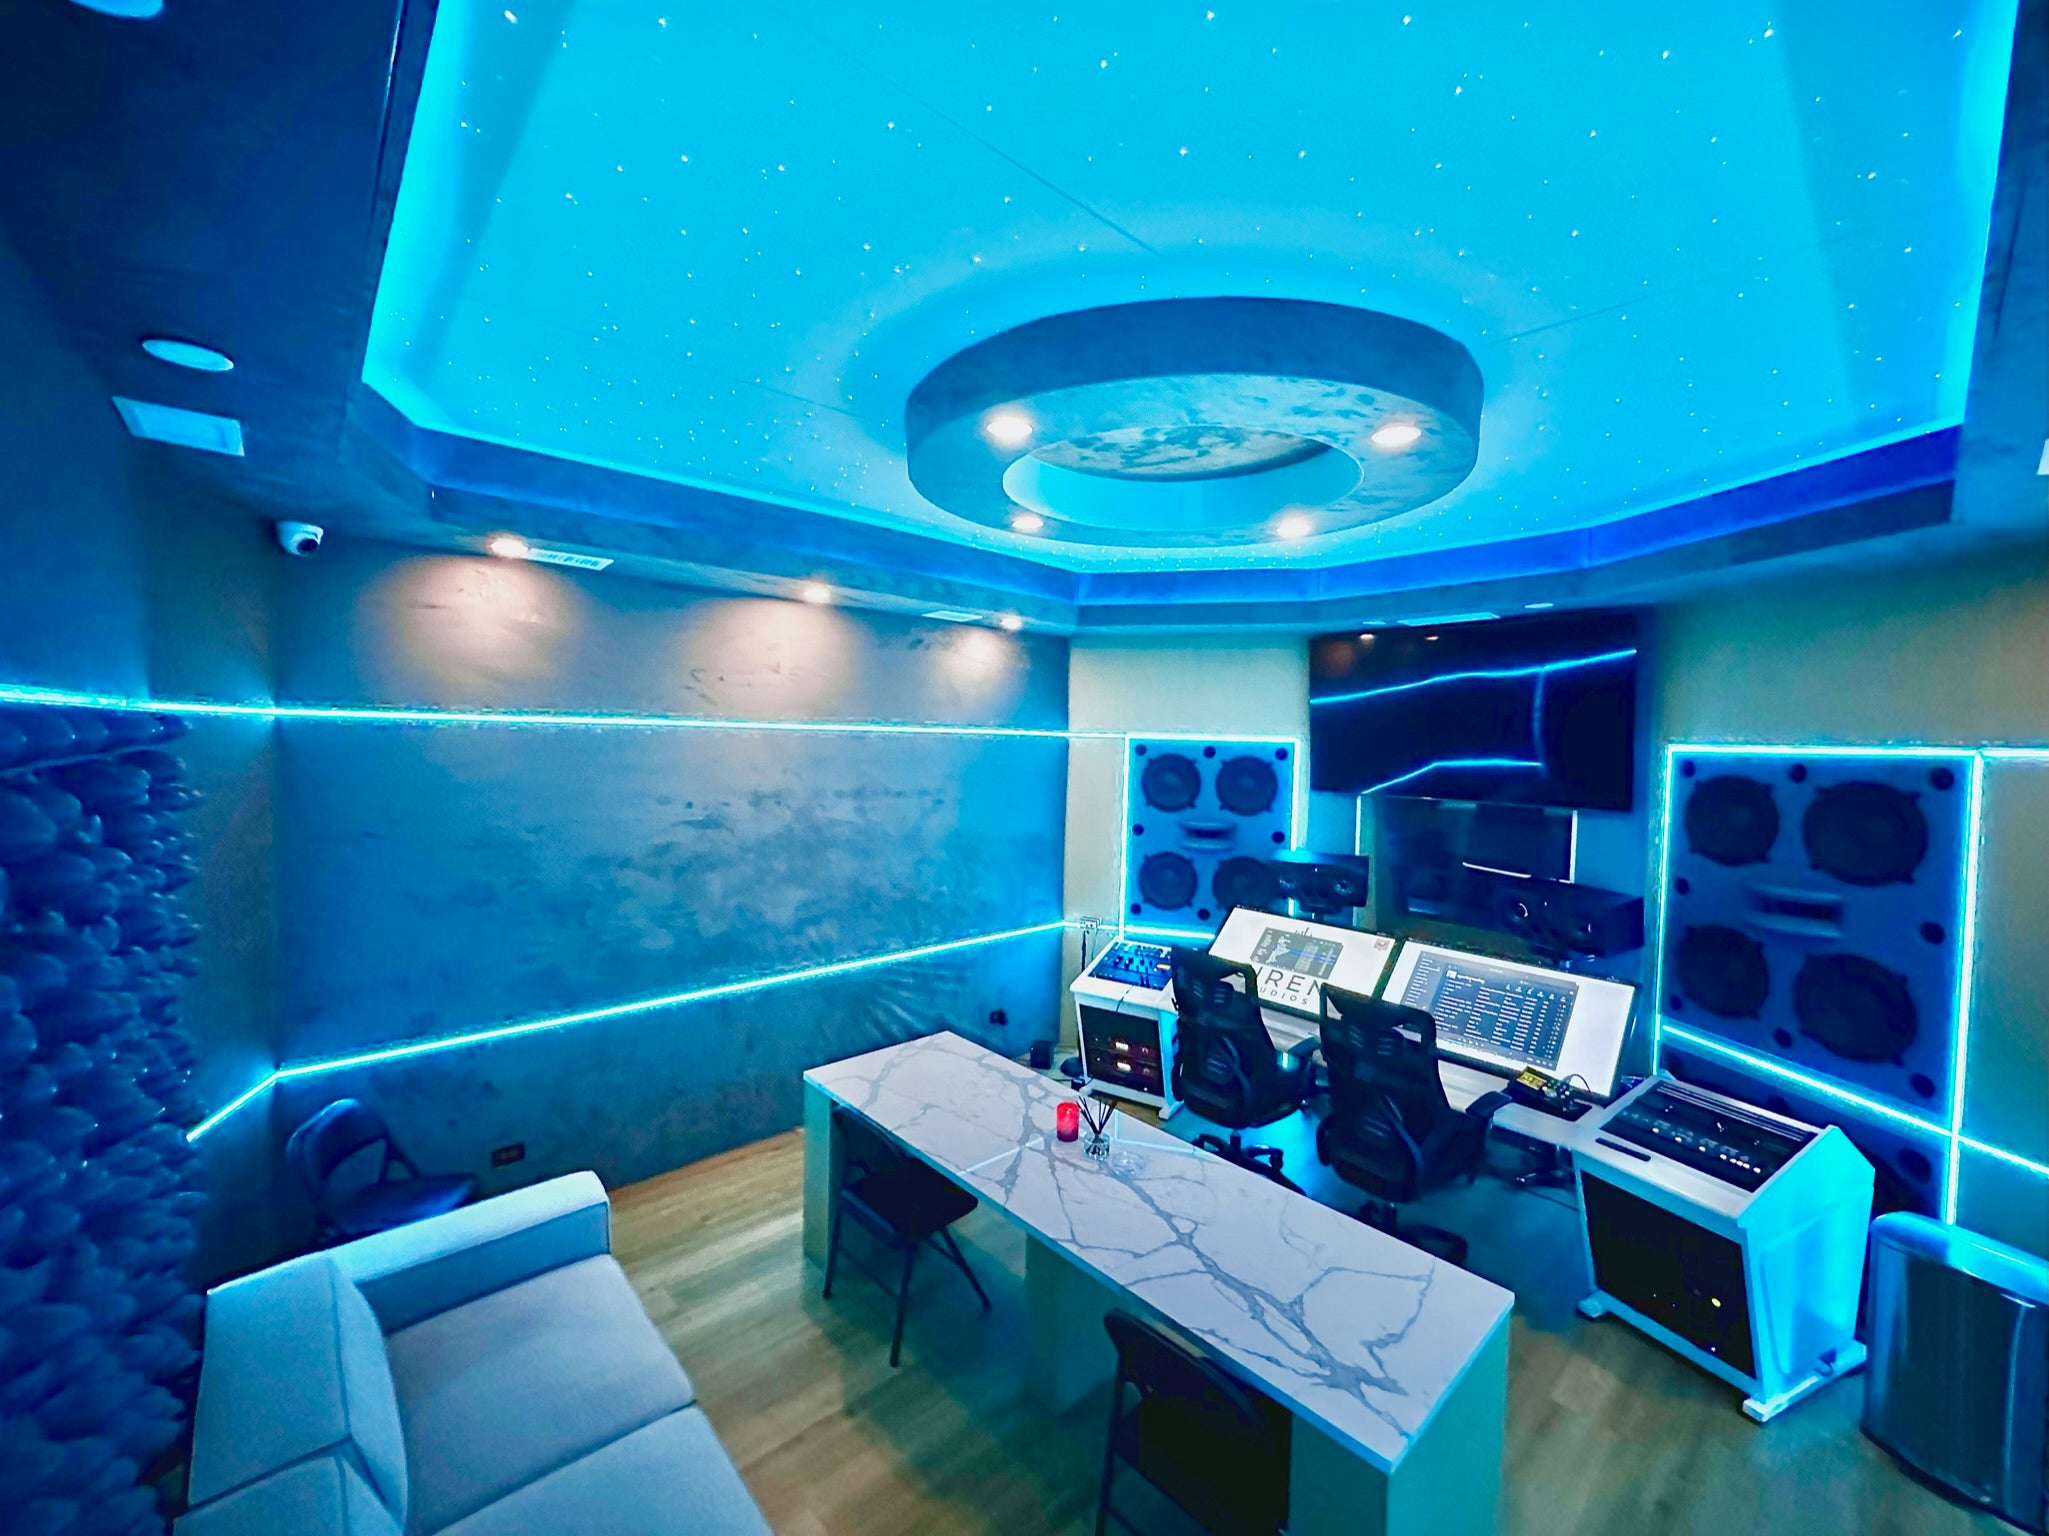
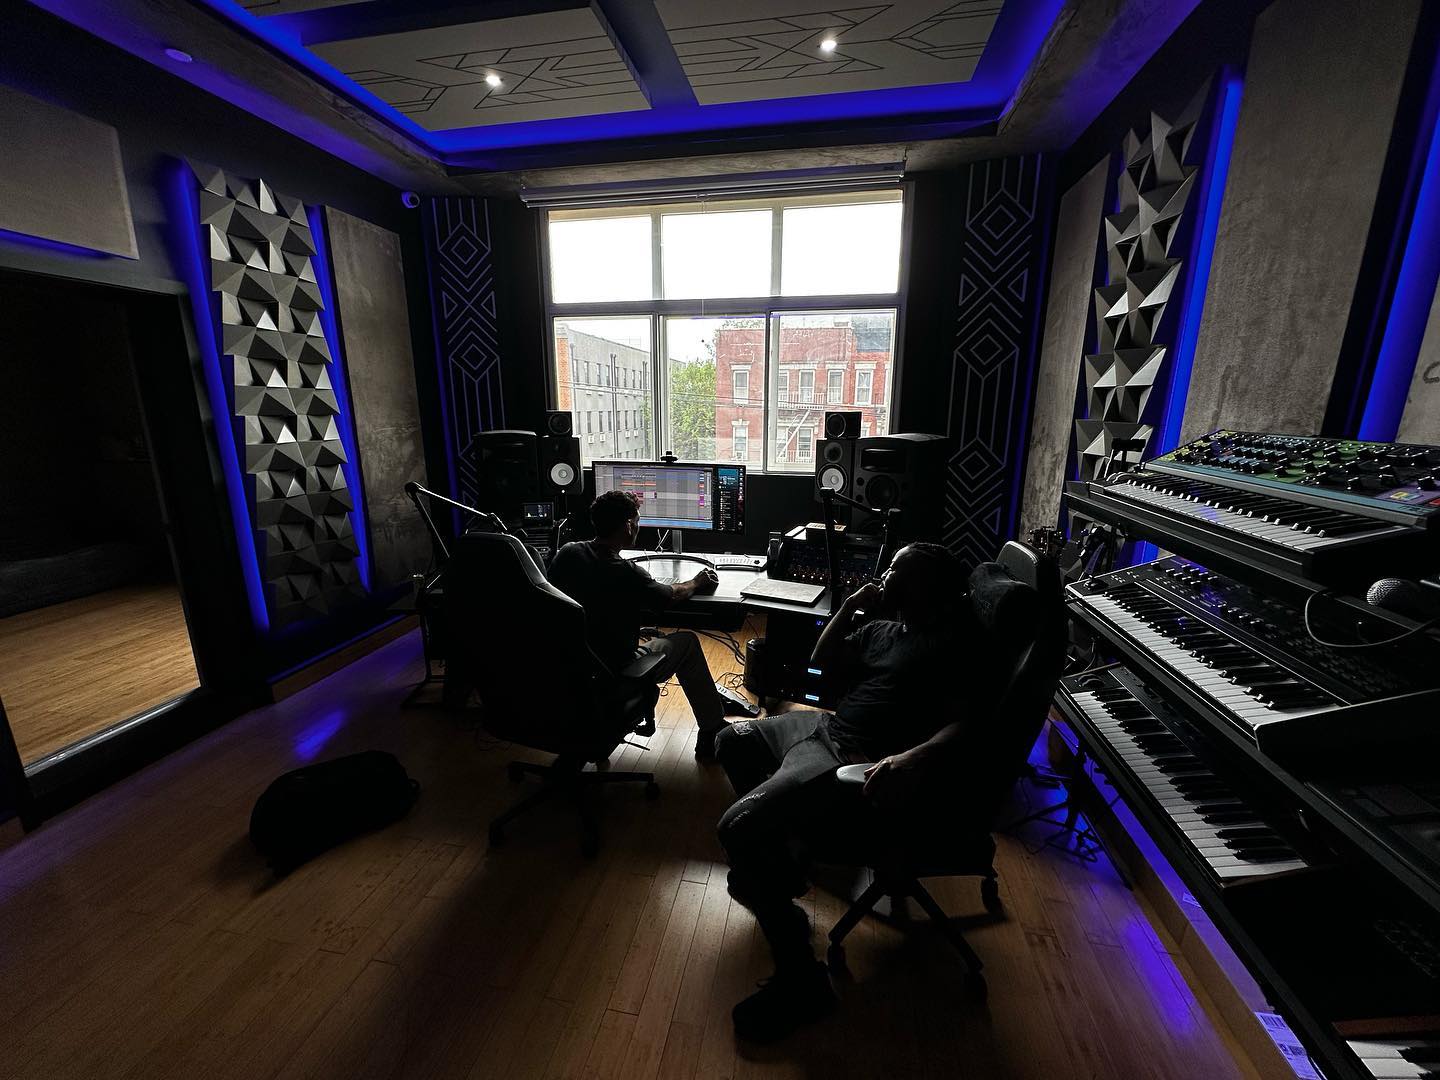
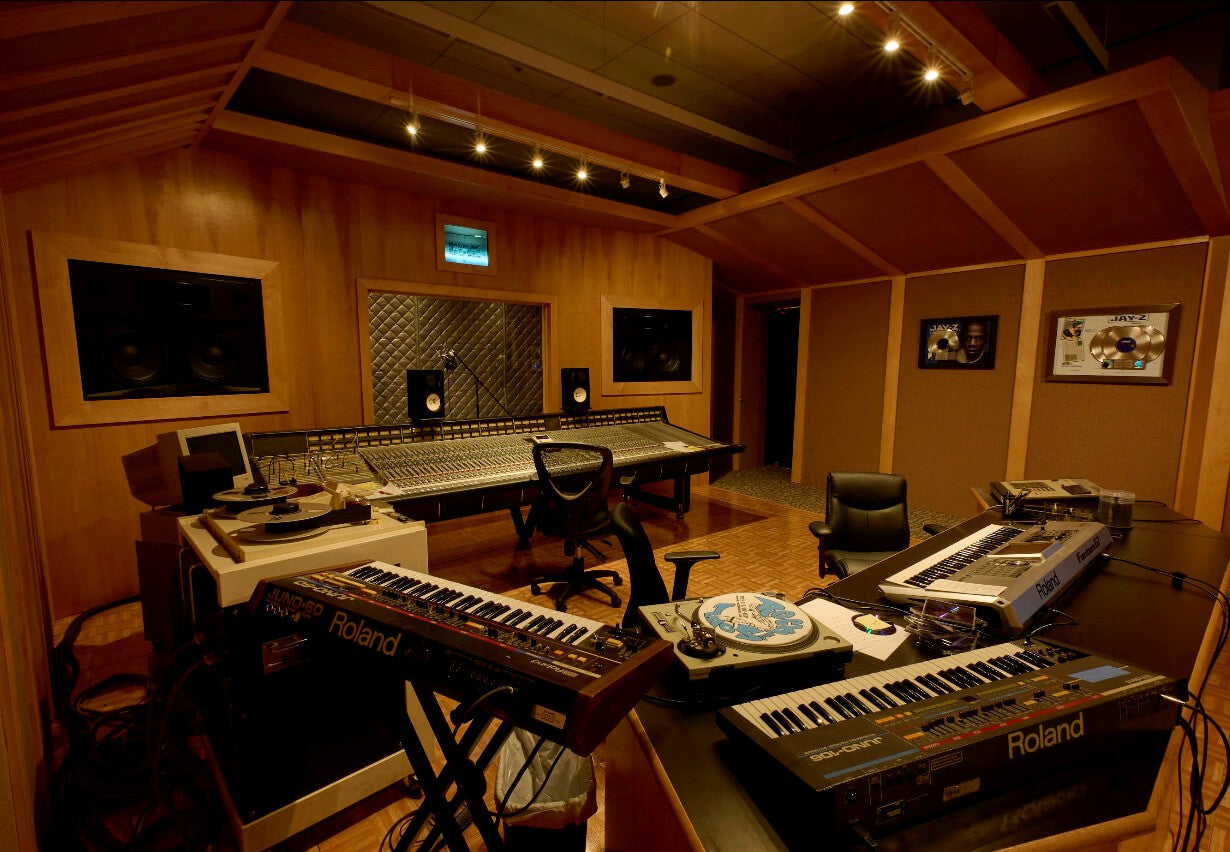
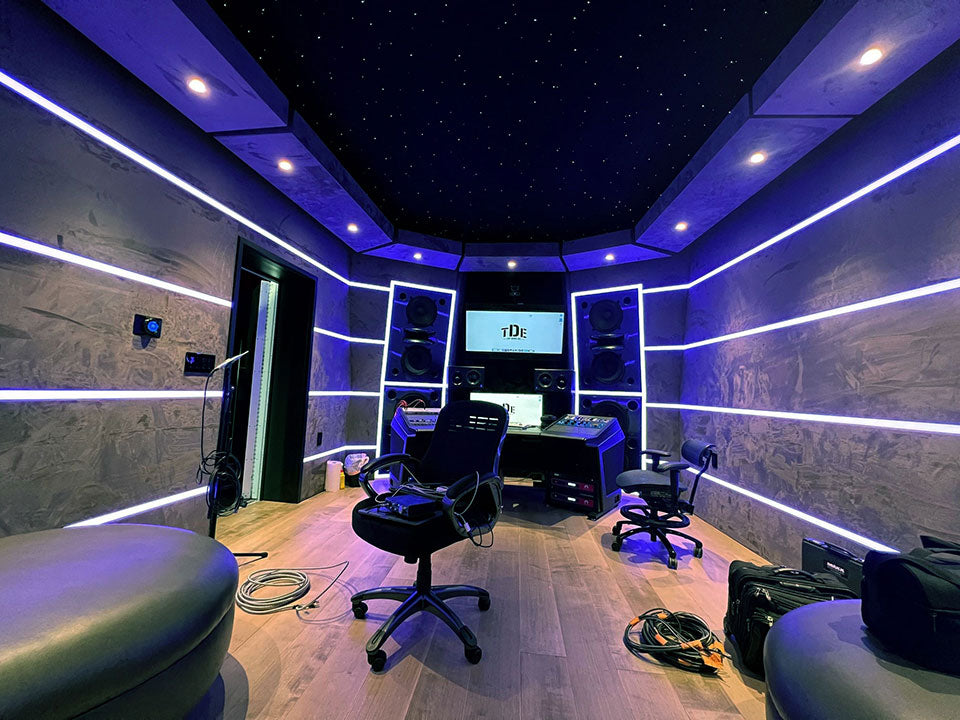
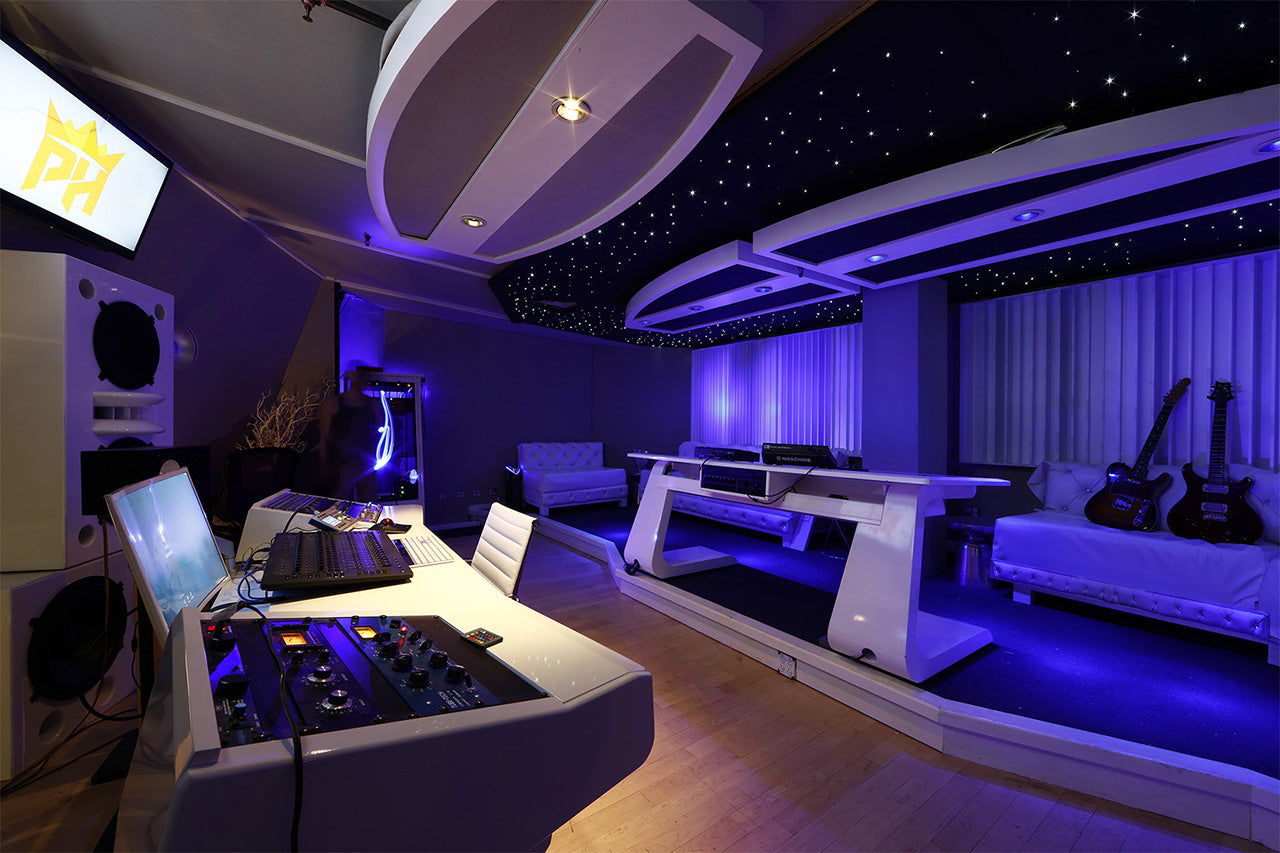
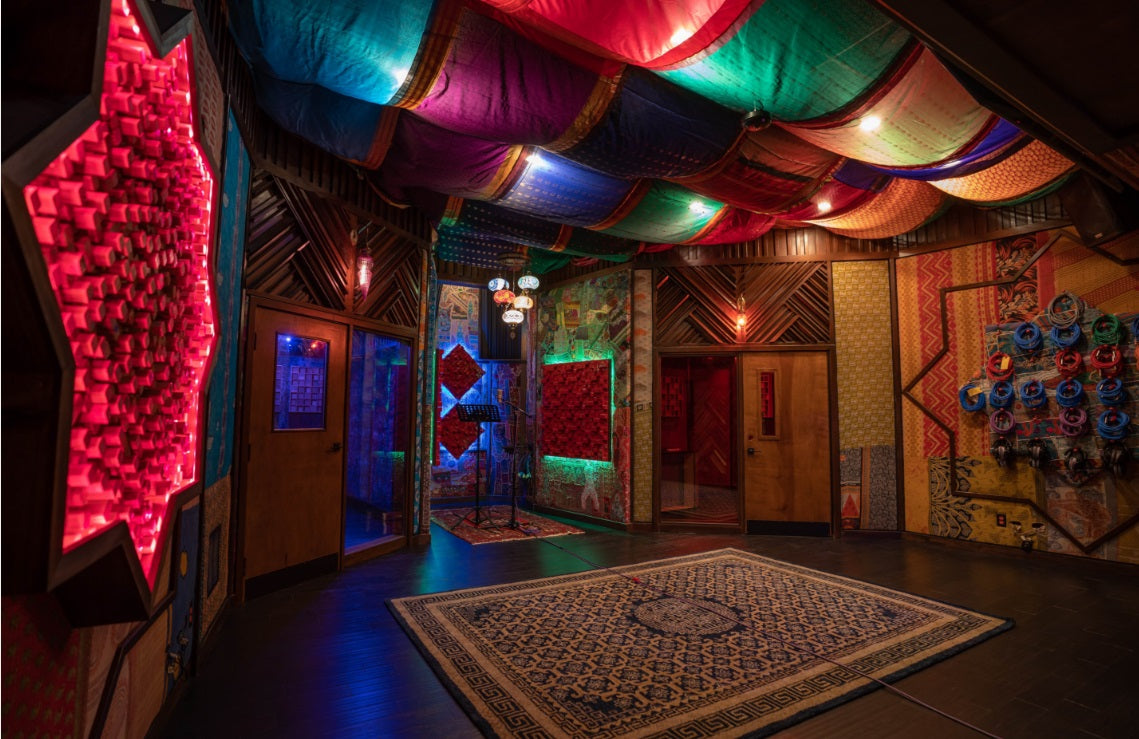
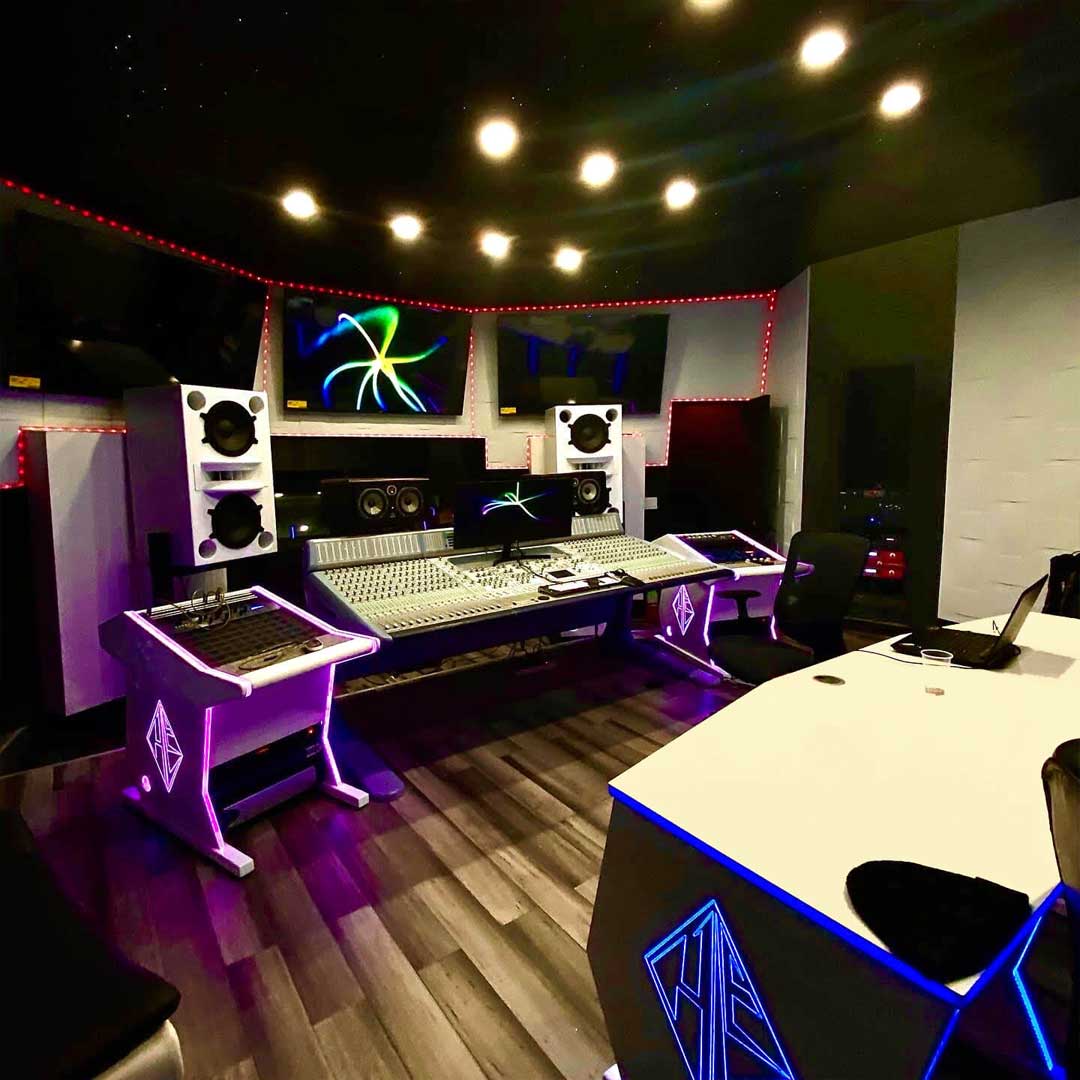
Check out our featured projects


FAQS
Have a question?
Our Customer support is available Monday to Friday, 8 - 10 est. Contact us with your questions or to get a quote request.
Extended Warranty
Get up to a 2-year extended warranty on any new gear and up to a 1-year extended warranty on used gear.
PAD-Certified preowned gear
All of our used equipment goes through a rigorous testing and servicing process before we make it available for sale.
Best Price Match
We guarantee the lowest price, period. If you need a price match, call us at 1-877-223-8858 for details.
Expert Advice
The PADTech team knows the gear inside and out. If you need help with installation, configuration or repairs, call us. We can help